When you access your business data on the move through a virtual computer, you will certainly want to manage the associated account and computer. Once you purchase a Virtual Computer Connection plan, you are assigned with an account for the virtual machine (also referred to as virtual office) that connects one or more virtual computers depending on the plan. You can manage your virtual machine, including the virtual computers, users associated with your account, data backup, and so on, through the Computer & User Management portal.
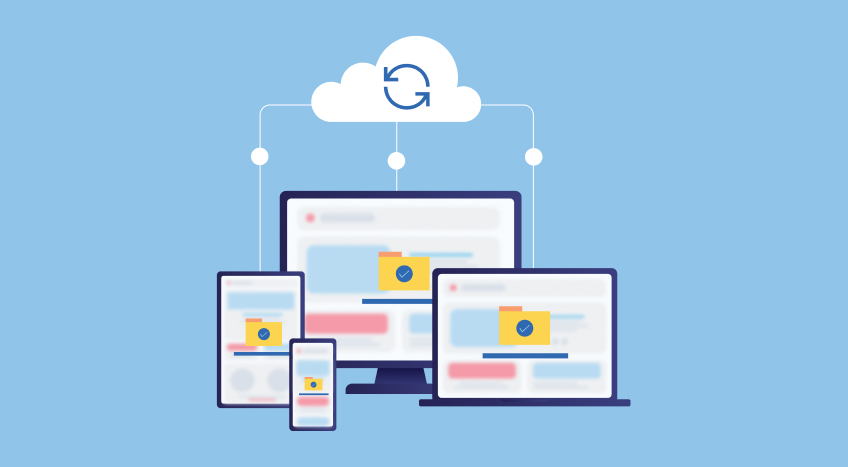
Connect to virtual computer – You can access your virtual computer in two ways: by using the Virtual Computer Connection client installed on your system and through the web browser from the Self Service Portal.
Start/restart virtual computer – As your business working hour starts, you will need your computer to be available to you. Once you login to the portal, you can start your virtual computer when you need to use it and shut down the computer when you stop working.
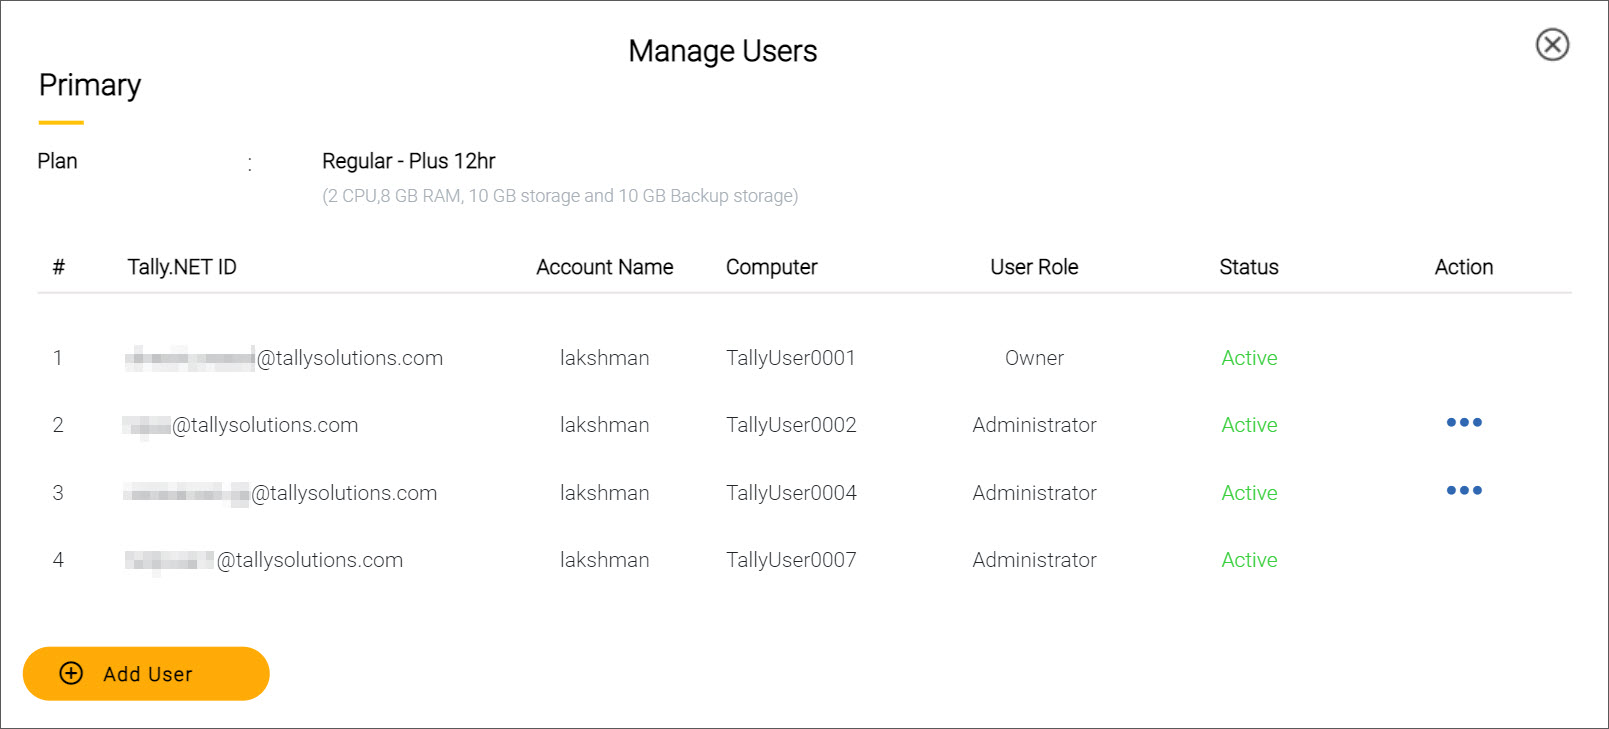
Manage users – When you have multiple users accessing your business data through different virtual computers, you can manage their accounts, as needed. Using the portal, you can add users as Standard User or Administrator, edit their details, or delete users.
Manage data backup – Your virtual computer is set to take automatic backup each day, on the first login. The backed-up data remains secure at a virtual storage location supported by AWS. As an administrator or an owner, you can also take back up all the data from your virtual computer when you need. You can download the backed-up data directly to your local computer or delete the same when not needed.
Access to Control Centre – From the Computer & User Management portal, you can open Control Centre to manage your Tally.NET account, create Tally.NET users, manage your TallyPrime license, and so on. Refer to the Control Centre topic for more information.
Contents
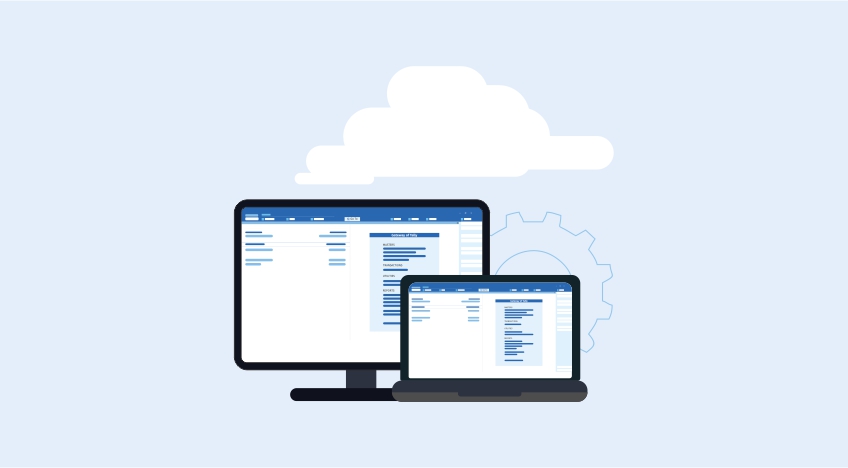
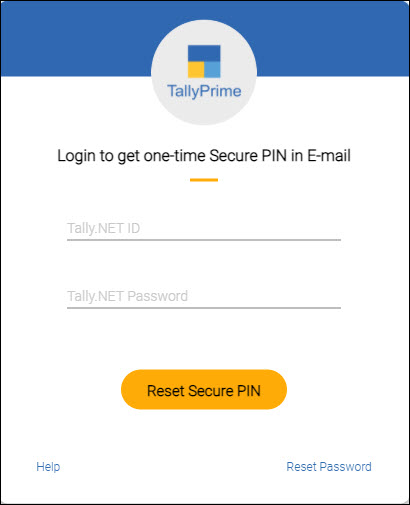
The Computer & User Management portal allows you to access a virtual machine (also referred to as virtual office) that connects to one or more virtual computers based on the plan. The virtual machine displays details of your account, including the account name, plan, user role, and status of the machine. To view the details of your virtual machine and associated user accounts, you will need to login to the Computer & User Management portal. The login credentials, including the Secure PIN, are shared with you via e-mail that you have registered while purchasing the Virtual Computer Connection plan.
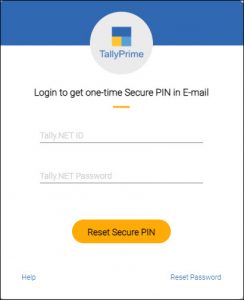
From the Login screen, you can also reset your Tally.NET Password and Secure PIN.
It is highly recommended that you use the latest versions of web browsers for the best experience.
Below are the latest versions of browsers that are compatible with the Self Service Portal:
| Operating System | Browser |
| Windows 7 SP1 or above | Chrome |
| Mac 10.12 or above | Chrome and Safari |
| Linux | Chrome (in testing) |
Note: Last tested version - Chrome 96
You can use the new Tally.NET Password next time to login to the client or portal.
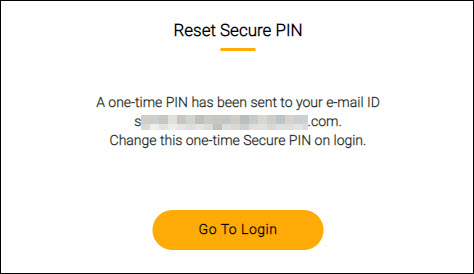
You can click Go to List of Computers to open the homepage of the Computer & User Management portal.
As your business hour gets over, you would generally ensure that you save your data properly and switch off your computer. This not only keeps the data untouched in the non-working hours, but also saves energy. Therefore, managing your virtual computer is important.
You start and connect to virtual computer when you need to work, restart the computer from time to time for regular updates, and shutdown when you are not at work. In addition, you can manage multiple user accounts by adding, editing, or deleting users from your account.
Attempting to log in with a new one-time temporary PIN after 72 hours displays the following error message.
You will have to reset the PIN again in order to log in.
Note: Every time you start/restart your virtual computer, it is reset to the original setup without impacting your data.
You can shut down your computer when you need to. If you are on a 12-hour plan, there is also a scheduled shutdown of the virtual computers. You will get a notification 15 minutes prior to the scheduled time.
The following is the shutdown schedule for the virtual computers:
Once the virtual computer is shutdown, you can start the computer and continue with your work.
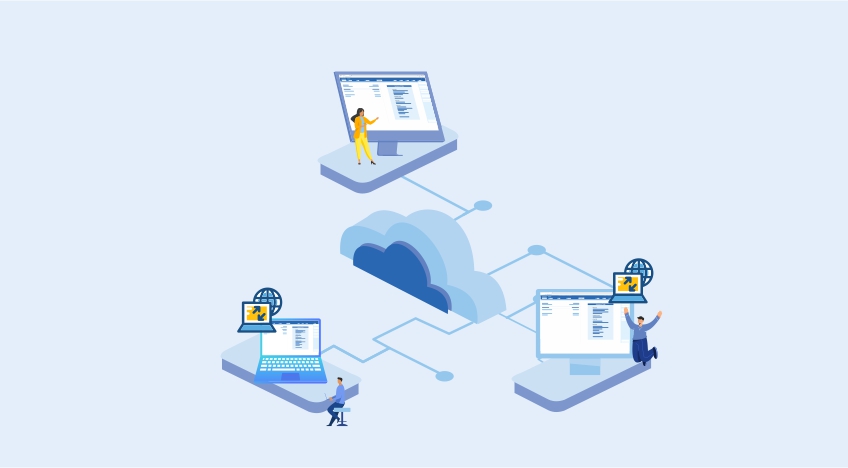
If you have multiple users working on the same company data, you can add or remove users as needed. You can keep a user active or inactive depending on your work requirements. Let’s say, your plan allows you to have a maximum of four users working on four different computers at the same time. You can add six users to your virtual machine account and keep any four of them active at a given point to access the virtual computers.
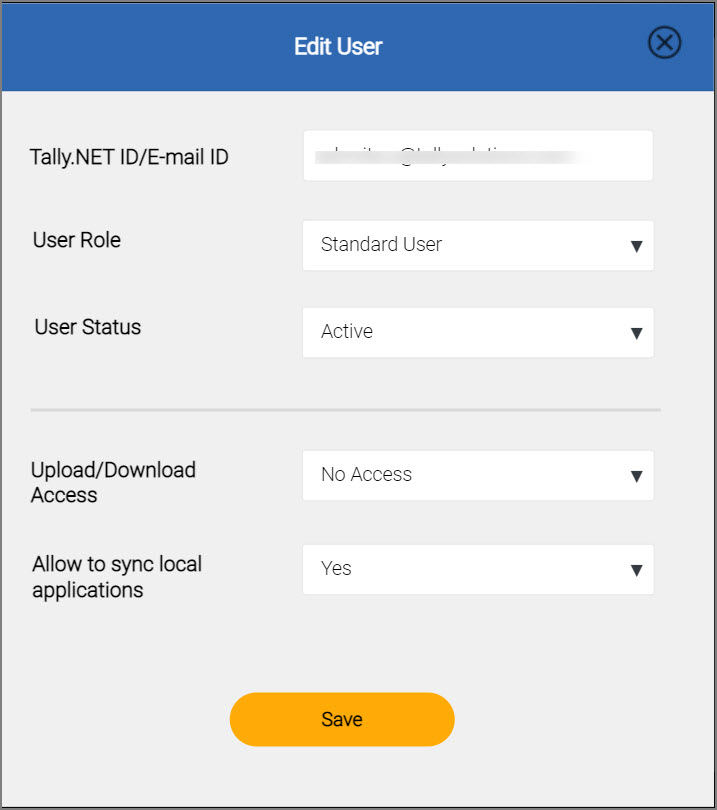
Note: The permissions to Upload/Download Access and Allow to sync local applications can only be given by an owner.
A message will be displayed allowing the person to sync with local applications. Changes will be effective once you re-login the Virtual Machine.
Suppose you want to add a user and there is an existing user who has already been given access to sync with local applications,
A message is displayed stating that only one user is allowed to sync Virtual Office with local applications.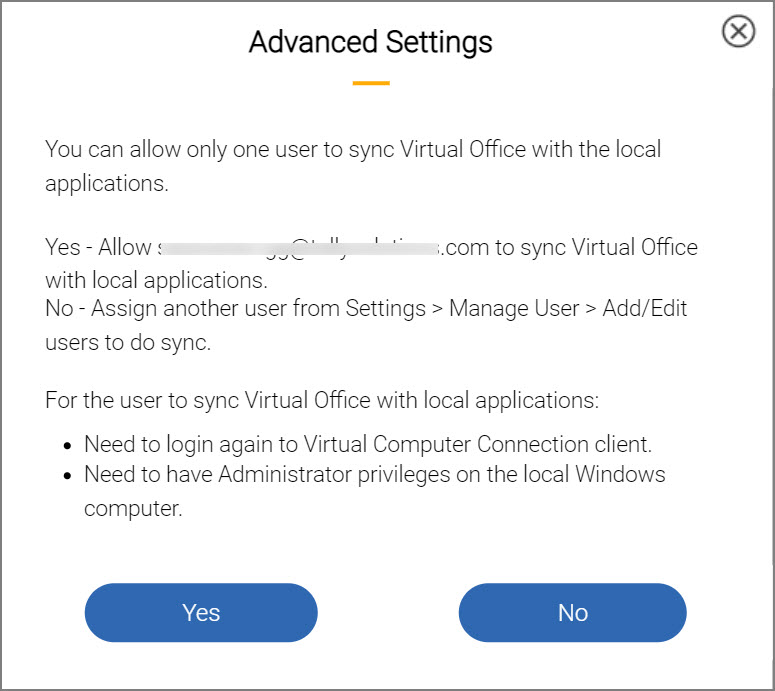
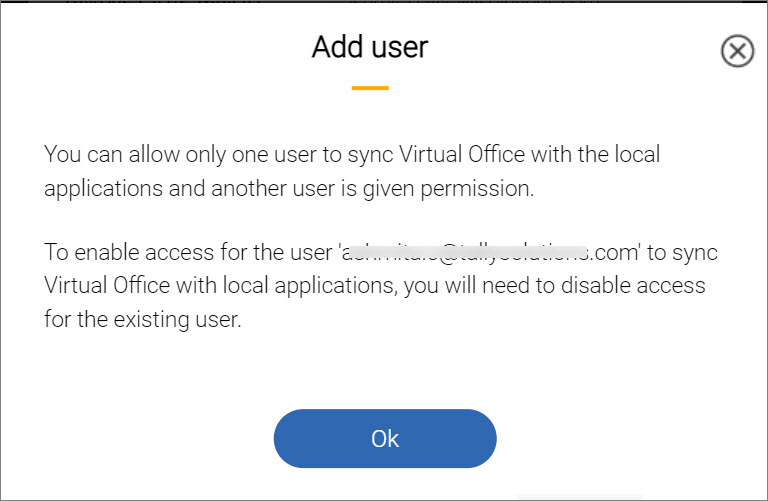
If one or more users already have access to sync with local applications, a message is displayed on the Add User screen. To enable the sync for a new user, the sync access for existing users must be disabled.
Note: An owner's account cannot be edited or deleted. The accounts of an admin or a standard user can however be edited and deleted by the owner.
The settings can be edited by the owner if they want to add a standard user or an admin and give the sync permission.
On adding a user, a computer is automatically assigned based on the user details you have provided and an e-mail with the login credentials, including the Secure PIN, are sent to the user.
You can edit the details of an existing user anytime you need.
Note: You can choose to assign the same computer to a different user by providing the Tally.NET ID or e-mail ID of a different user.
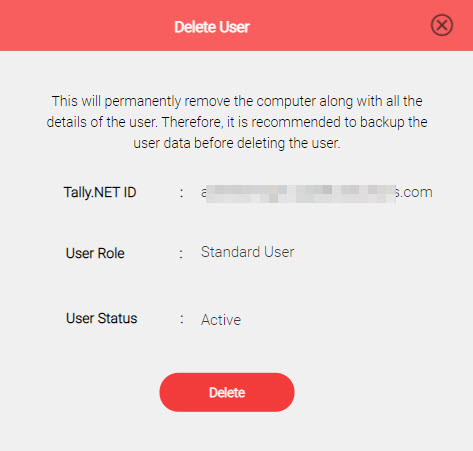
The details of the user along with the user data gets permanently deleted from the Virtual Computer Connection.
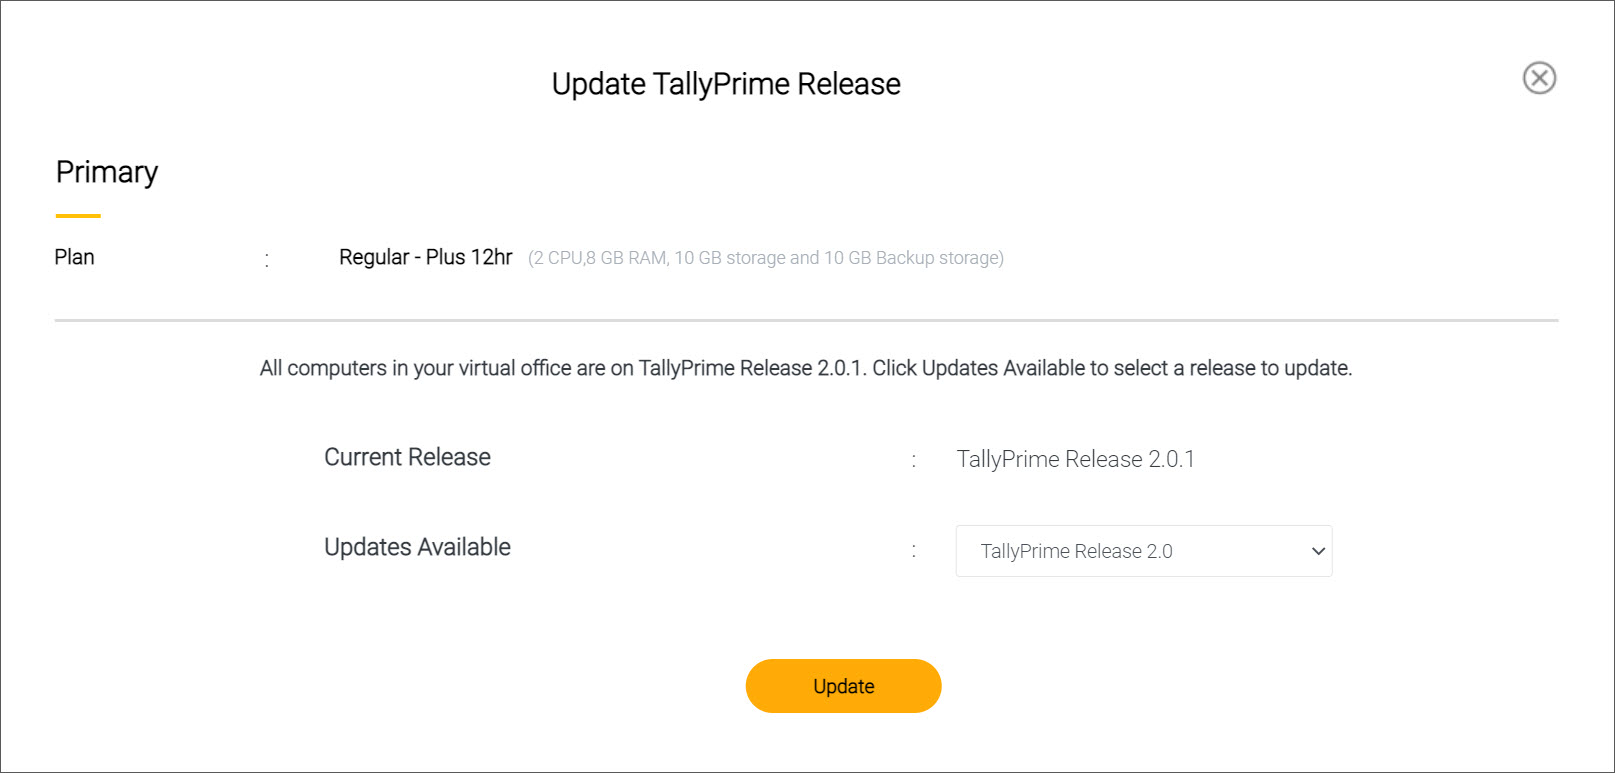
If you are an administrator or owner, and you have a valid TSS, you can update TallyPrime to any of the available releases on the virtual computer.
Every day, when you start your virtual computer the first time, the entire data of the virtual computer is automatically backed up. This ensure that your data is latest, secure, and reliable. You can also download the backed-up user data anytime to your local computer.
If you are an administrator or owner, you can also manually backup the data of the virtual machine as and when you need. All the backed-up data is stored at a backup storage location provided to you by AWS, based on your plan. With administrator or owner privileges, you can download the backed-up data for the entire virtual machine to your local computer.
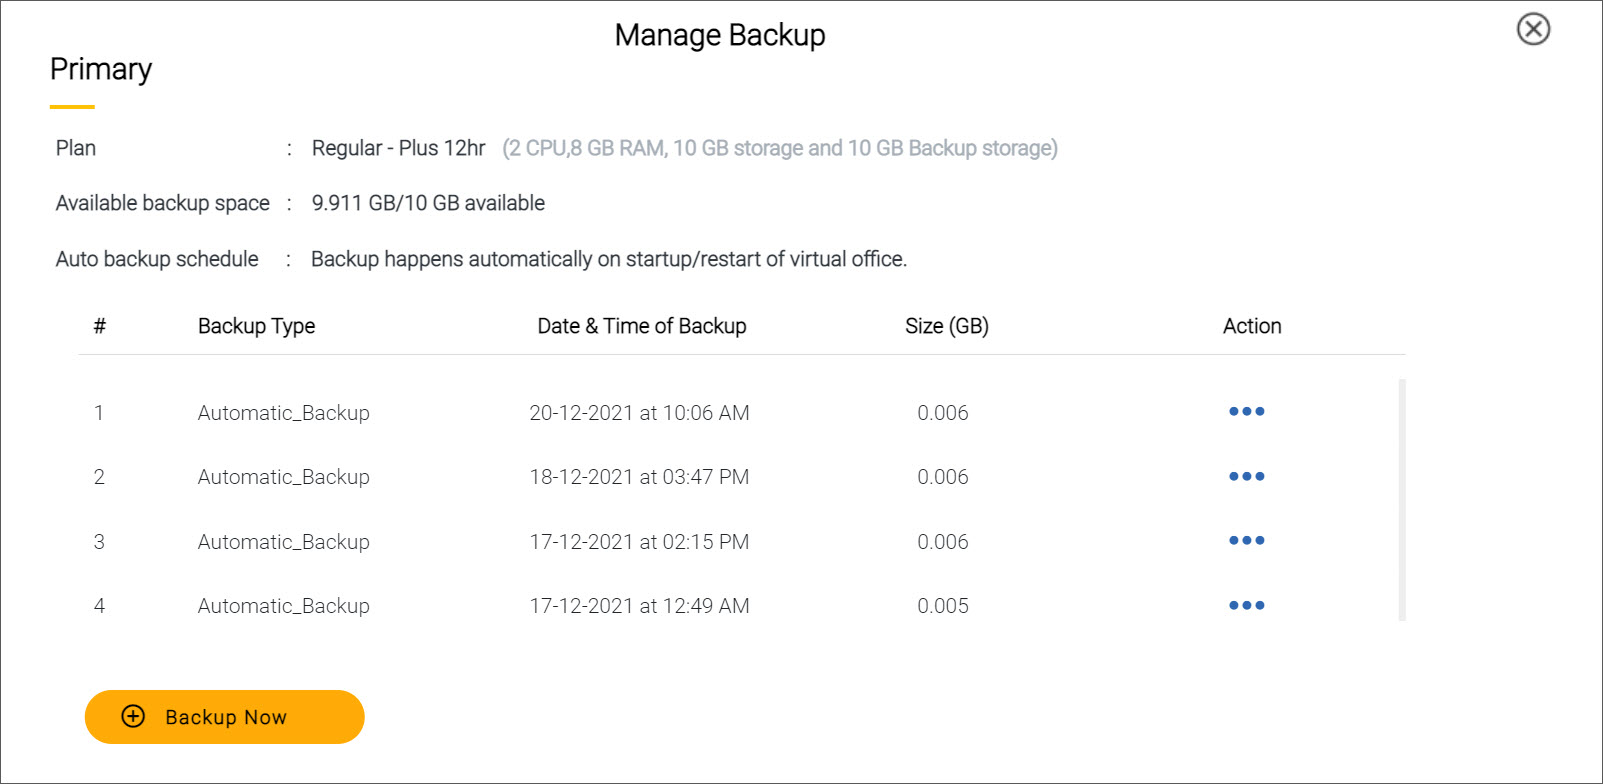
The Manage Backup screen displays the following details:
The backup of your virtual computer includes data of the entire computer that includes all files and applications available under the folders My_Applications, My_Files, and Shared_Folder. Backup can be automatic or manual.
Automatic Backup
An automated backup of the data of the virtual machine takes place on starting the virtual computer. This is applicable for all user roles – Owner, Standard User, and Administrator.
Manual Backup
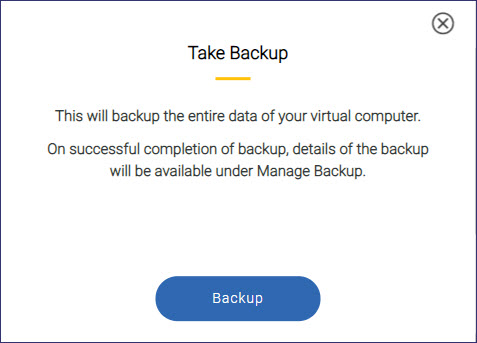
If you are an administrator or owner of the virtual machine, you can take backup of the data, as an when you need.
You can see a list of both automatic and manual backup in the Manage Backup screen. All the backed-up data is stored on a dedicated AWS storage location. Based on your plan, when the allocated storage space if full, the oldest backed up data is removed automatically to ensure availability of space for the next backup.
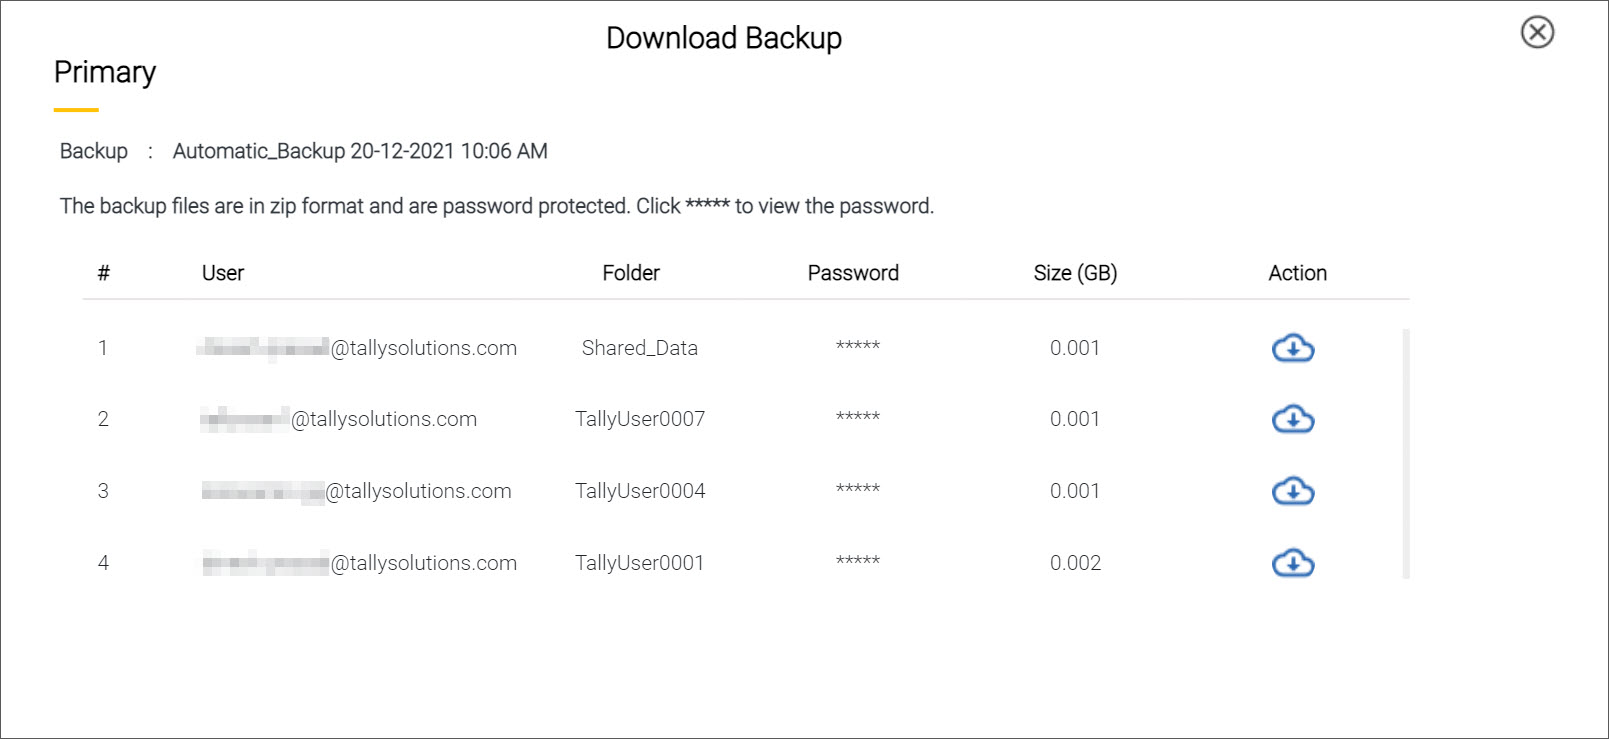
You may need to refer to the backed-up data on your local computer, without having to login to the virtual computer every time. In such cases, you can download the backed-up data to the local computer.

With TallyPrime on AWS subscription, you get the flexibility of using the Virtual Office as much as you need for your business, based on your plan. Therefore, you will certainly need to keep a track of the total usage of your Virtual Office. At times, you or the users in your Virtual Office might log out from the virtual computer, without shutting down the Virtual Office. In such situations, the usage of Virtual Office may exceed the usage limit without your notice. Use of the Virtual Office exceeding the usage limit of your plan might lead to additional charges.
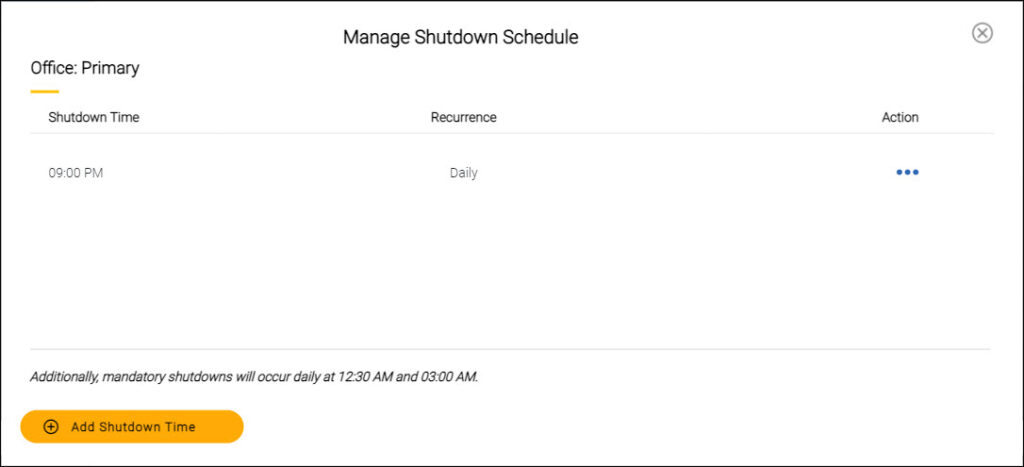
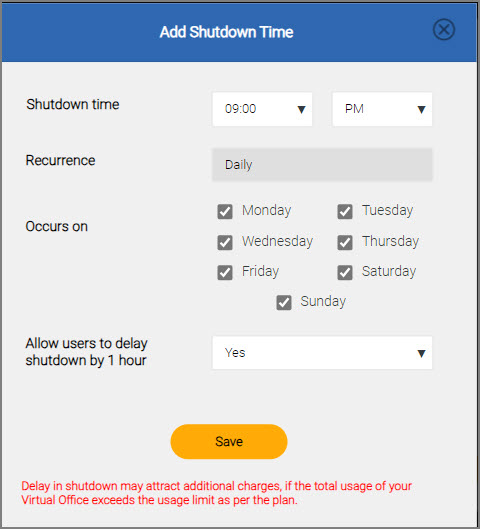
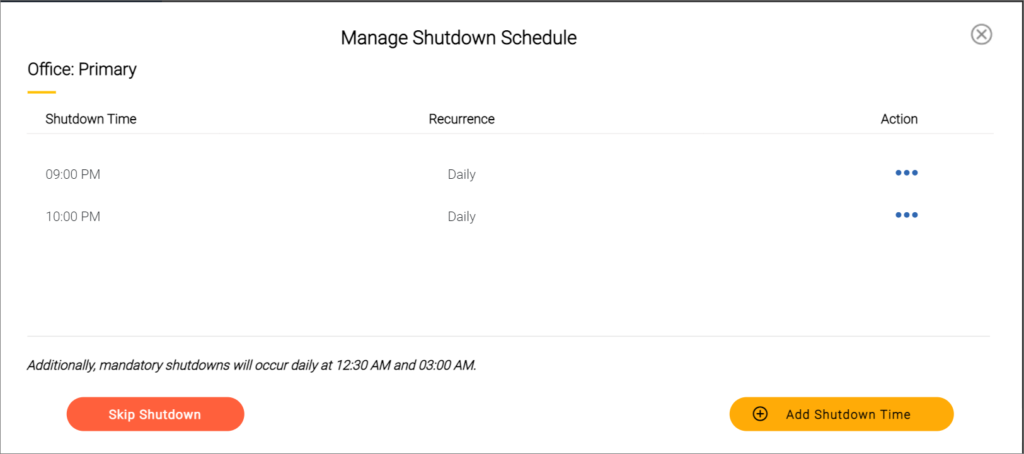
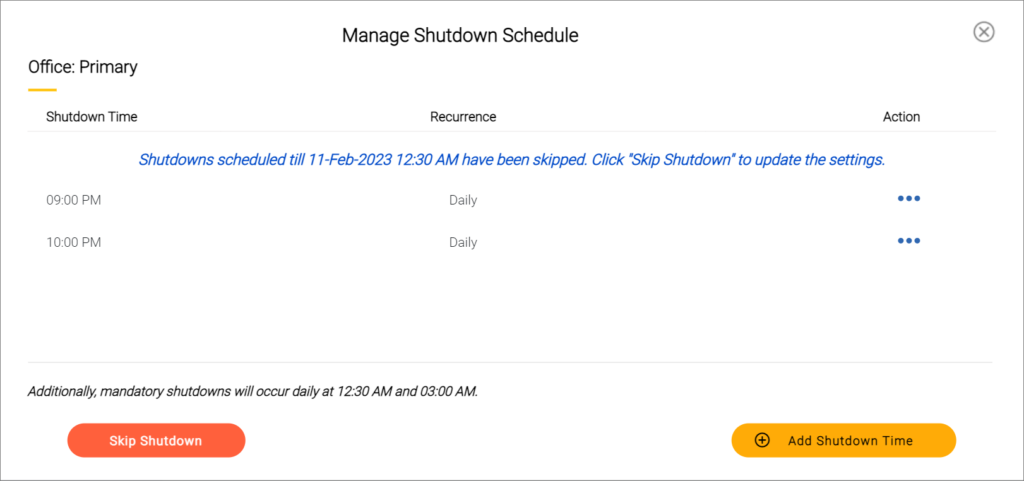
Add shutdown time: In TallyPrime on Virtual Computer, you can now have better control over the overall usage of the Virtual Office. You can now schedule a shutdown time for the Virtual Office and stay relaxed. You can schedule it to shut down at the end of office hours or showroom closing time when you know everyone using TallyPrime has logged out. Scheduling of shutdown will enable you to avoid unwanted usage of your Virtual Office, and help you manage the overall running cost.
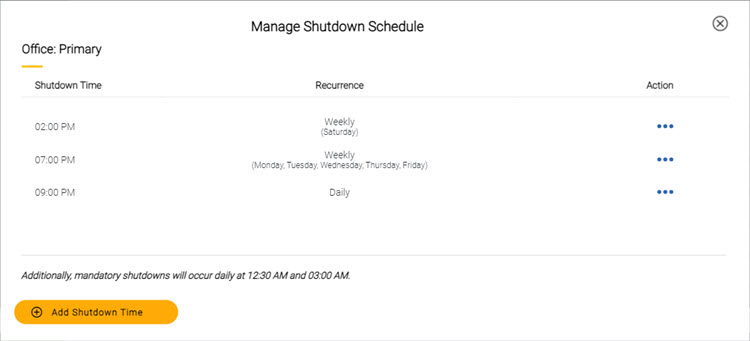
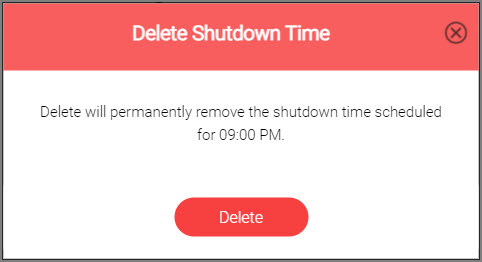
Edit/Delete shutdown time: By default, the schedule shutdown time is available 09:00 PM. Users can modify and delete the shutdown time if required. However, you can set additional shutdown time as per your requirement. For example, every day, if your business hour closes at 07:00 PM, then you can modify the existing schedule or add a new shutdown time as per your requirement. The mandatory shutdown occurs daily at 12:30 AM and 03:00 AM. So, if anyone from your business did not shutdown the Virtual Office, the usage will be counted until it shuts down, which will be at 12:30 AM. Hence, the system counts the data usage for 5:30 hours.
Skip shutdown: While using your Virtual Computer, you may need to perform certain tasks that are longer than usual. At times, depending on the business needs, you might need to extend the regular working hours. In such cases, you will need to access the Virtual Computer, without any interruptions or shutdowns. You can now skip those scheduled shutdowns to avoid those interruptions.
Let’s assume that your business hour closes at 09:00 PM. Therefore, you want to shut the Virtual Office down exactly at 9:00 PM each day. Instead of remembering to shut down the Virtual Office every day, you can schedule a time when the Office shut shutdown every day.
Note: The shutdown time once set will be applicable to you and all users under your Virtual Office account.
You can schedule more than one shutdown time, depending on the business needs and different working conditions.
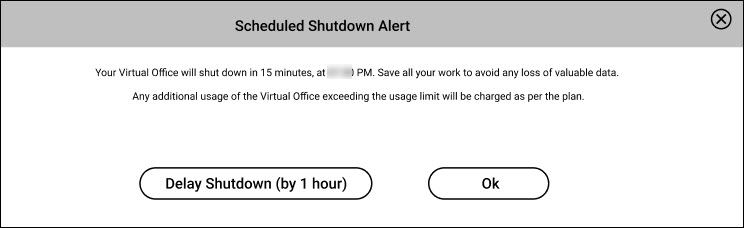
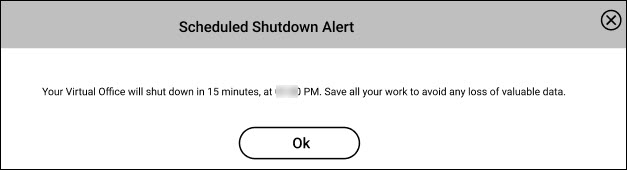
Shutdown Alert
Once you have added a shutdown time you and all other users under the same account will get a Scheduled Shutdown Alert 15 minutes prior to the shutdown time.
Let’s assume that you had set a daily shutdown time for 09:00 PM. However, your business operations have recently changed the closure time. From Monday to Friday the working hour is up to 09:00 PM, and on Saturday it is up to 02:00 PM. Sunday has been declared a holiday moving forward. You can edit the schedule shutdown time as per your requirement.

Depending on your business practices or increasing scope of work, the working hours might have changed, and your office no longer closes as per the earlier schedule. However, you might have scheduled a shutdown time at a specific hour, which may no longer be required. In such cases, you can delete a shutdown time from the shutdown schedules.
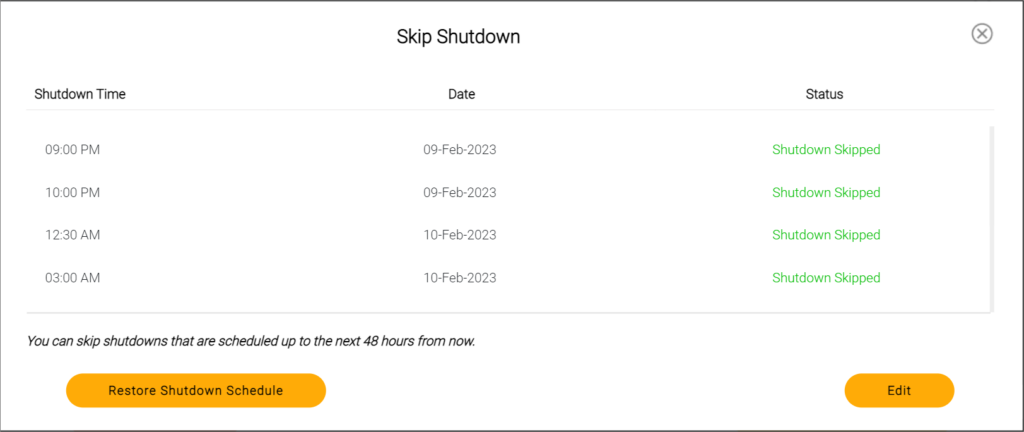
As per your business requirements, you might have scheduled shutdowns at 09:00 PM and 10:00 PM, in addition to the mandatory shutdowns at 12:30 AM and 03:00 AM. For certain activities, you might want to continue using the Virtual Computer, by skipping the shutdowns. In that case you can use the Skip Shutdown feature to set the preferences.
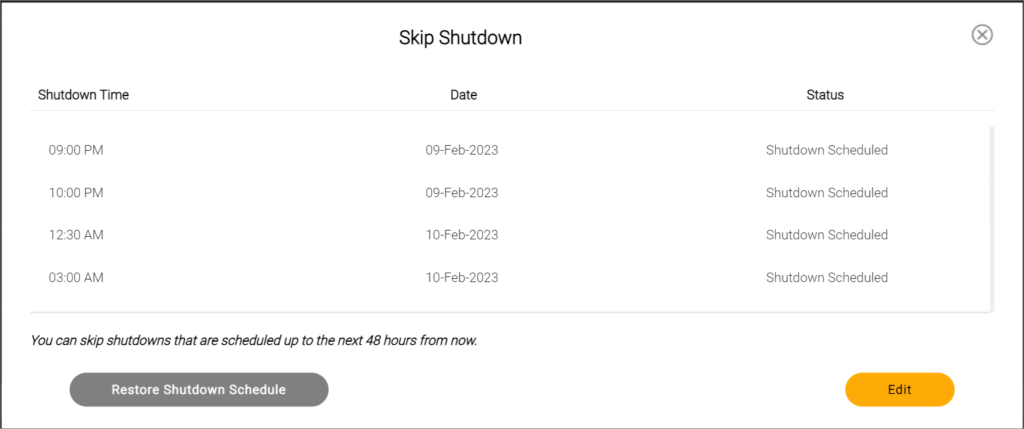
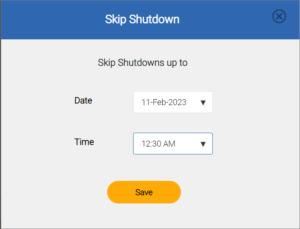
Note: The Date and Time in the edit Skip Shutdown screen lists only shutdowns scheduled in the next 48 hours. It is mandatory to enter the Date and Time to proceed with the Skip Shutdown.

Let’s say you are working extra hours and want to extend the Skip Shutdown till 3 AM instead of the previously scheduled shutdown. You can update the Skip Shutdown by:

Note: When you open the Skip Shutdown screen, it lists all the shutdowns applicable for the next 48 hours from that time. Therefore, you will see an updated list of shutdown times compared to what you had seen earlier when you select the Date and Time for skipping the shutdowns previously.
Suppose your planned activity is completed before the shutdowns scheduled and you have skipped shutdowns for next 48 hours. Now you may want to restore back all the user-configured and mandatory shutdowns,

Note: The Restore Shutdown Schedule button appears in Grey and will be enabled only when shutdowns are skipped.
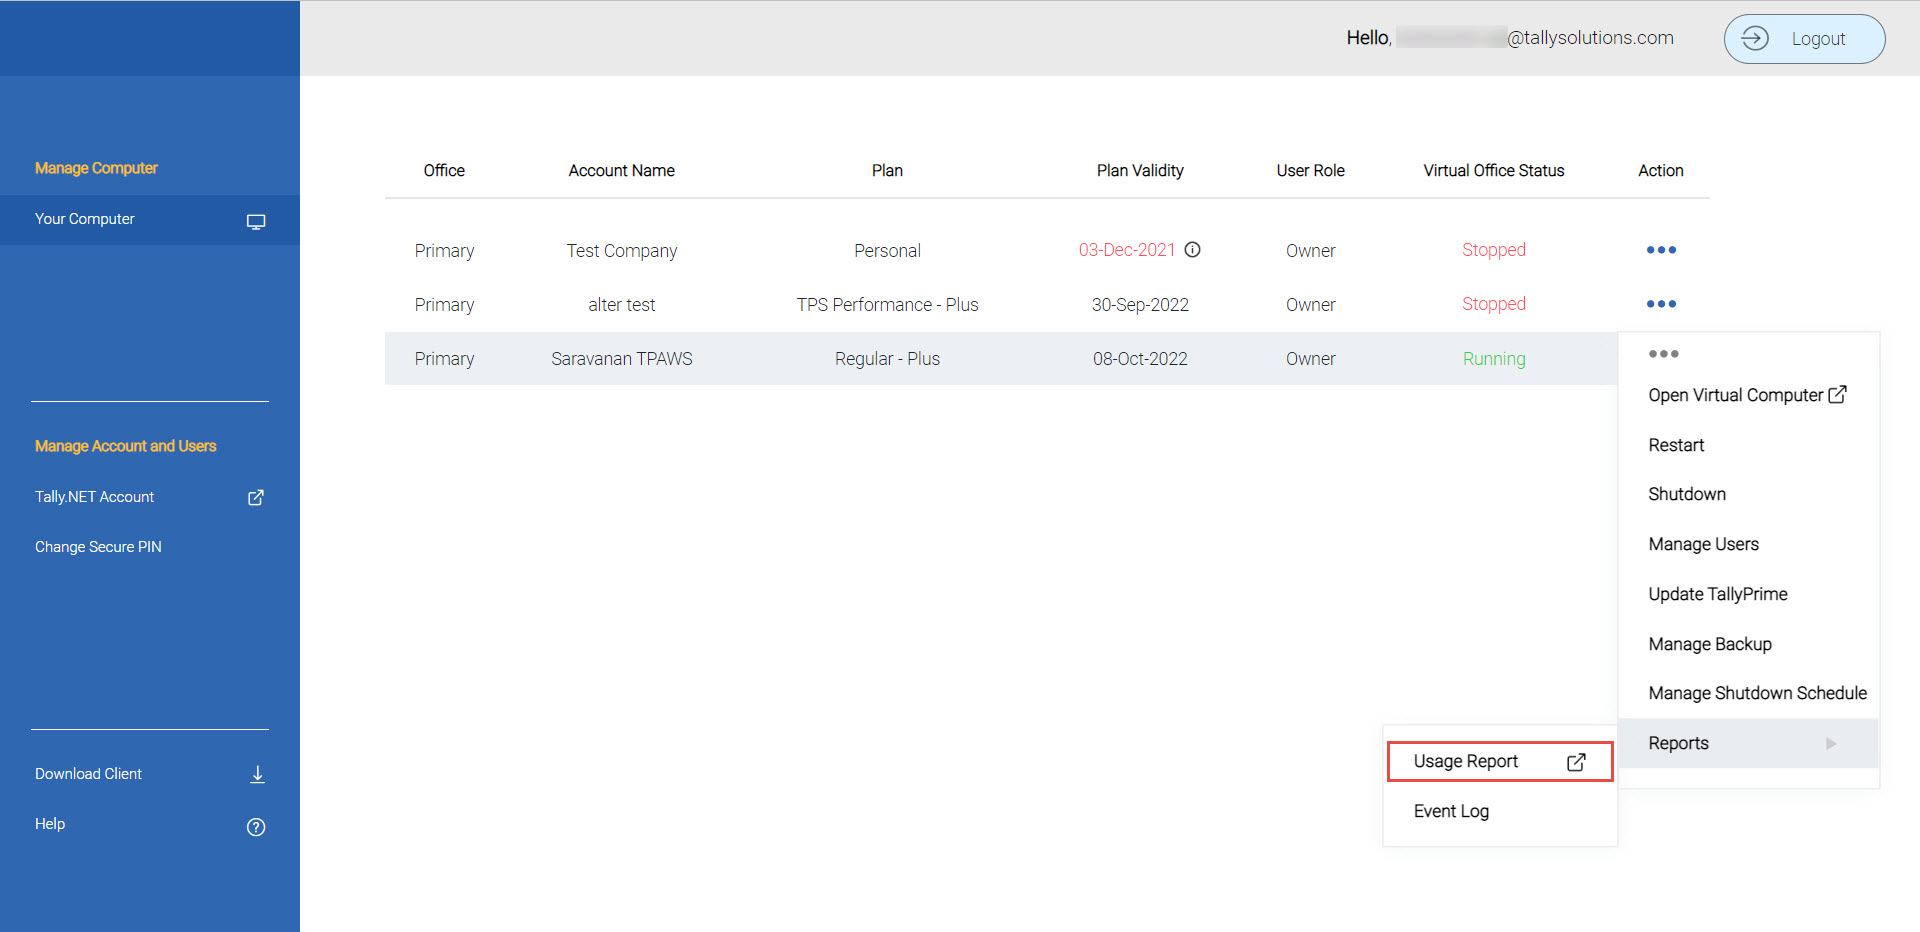
After using the Virtual Office, you may want to know the usage of the virtual computers. This feature allows to check the usage and track the activities of the operations only for the Owner and Administrator.
As per your product plan, you can use the Virtual Office for 312 hours in a month. You may want to know the actual usage of the Virtual Office for your organization. To optimize the total usage of the Virtual Office, you will need to keep a track of the total usage hours in regular intervals. The Usage Report available from the Computer & Usage Management portal helps you to view and monitor the total and remaining usage hours for your Virtual Office. Based on the usage pattern as per your business practice, you can choose to schedule shutdown times and ensure that there is no overconsumption, thereby leading to additional cost. The Usage Report is shown based on the actual consumption reported by Amazon Web Services (AWS).
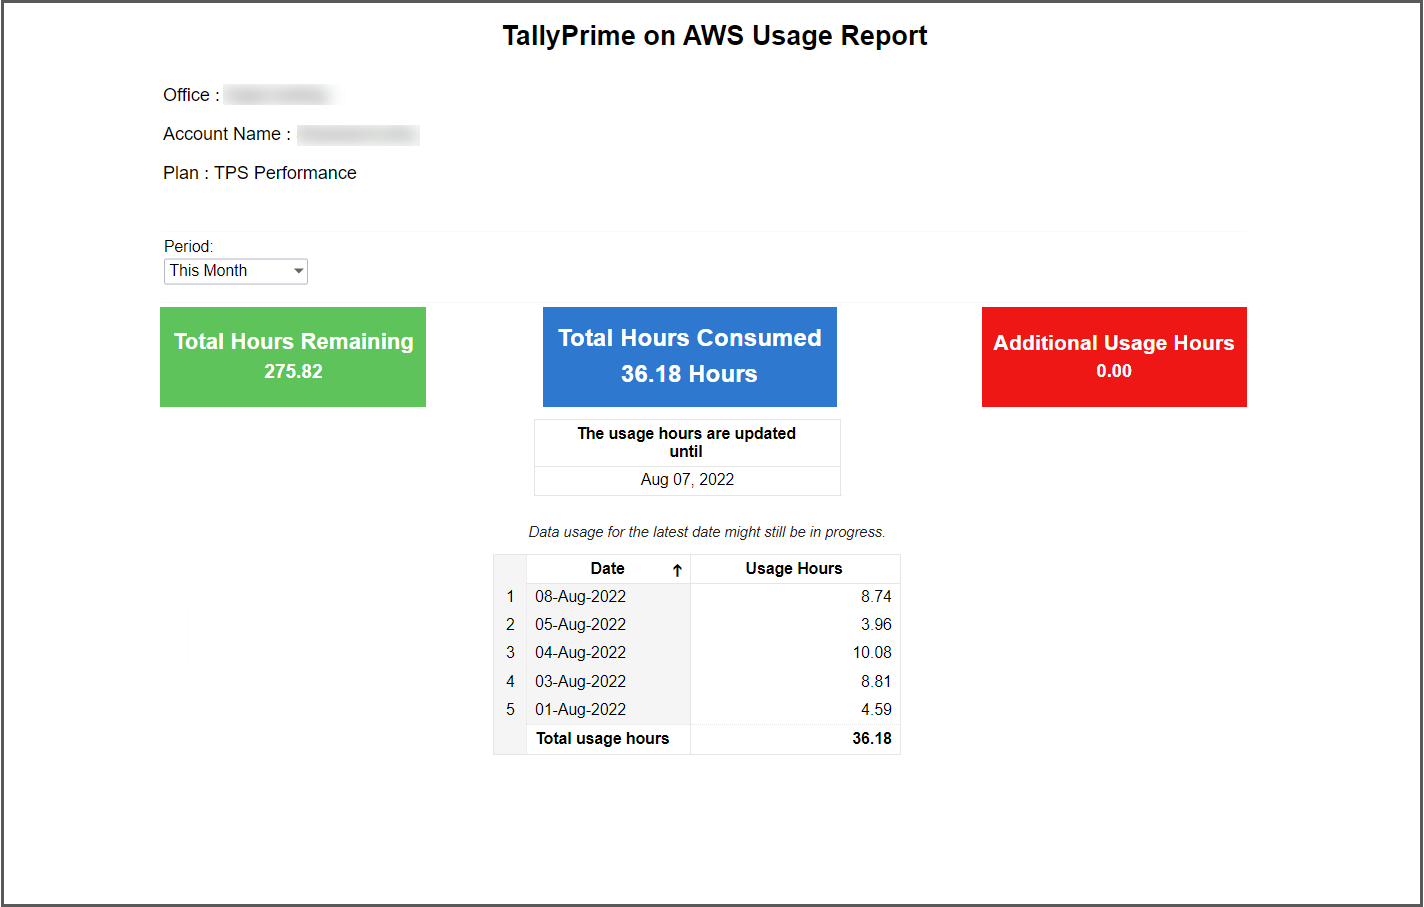
The actual usage hours for the Virtual Office is updated till 07-Aug-2022.
However, Total Hours Remaining, Total Hours Consumed, and Additional Usage Hours display the values including the usage data available for 08-Aug-2022 (which may still be in progress).
The usage hours shown for 09-Aug-2022 is not considered for this computation as the update would still be in progress.
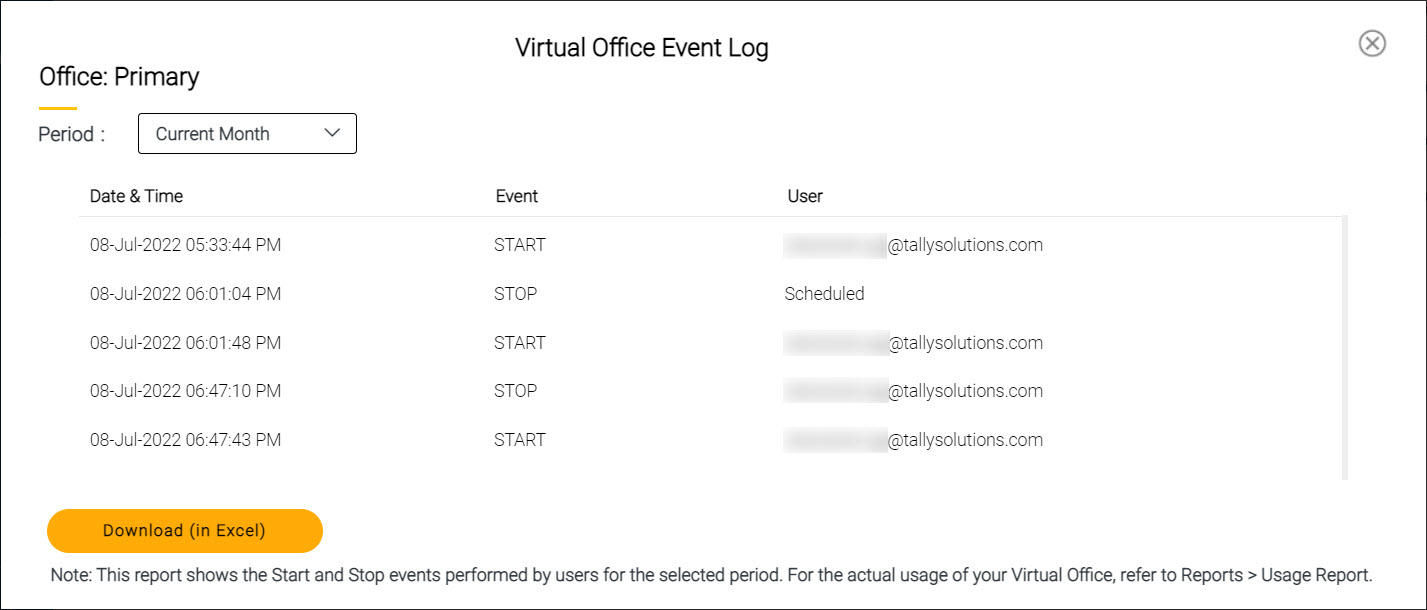
Anytime you start or stop the Virtual Office, the portal tracks the respective date and time along with the user details against the event. As an Administrator or Owner, you can check those details, as follows:
The Computer & User Management portal provides quick access to the Control Centre for managing your Tally.NET account. In addition, you can change the Secure PIN for the Virtual Computer Connection client from the portal.
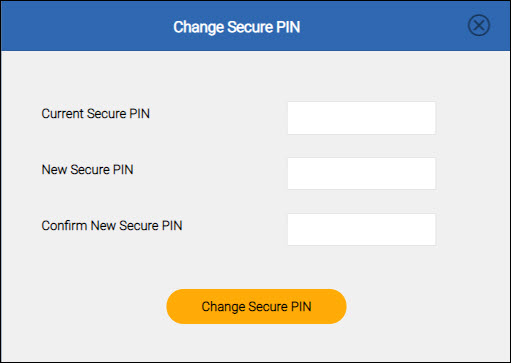
You can use the new Secure PIN while logging in to the Computer & User Management portal.
When a new update of the client is available, a red dot appears next to the down arrow against the Download Client option. You can upgrade the client to the latest version, if needed.
Note: There is no impact on your data due to the update.