It is easier than ever to manage your business on the go! The Self Service portal now lets you access your Virtual Computer through the web browser, so that you can access your data wherever you are and whenever you want.
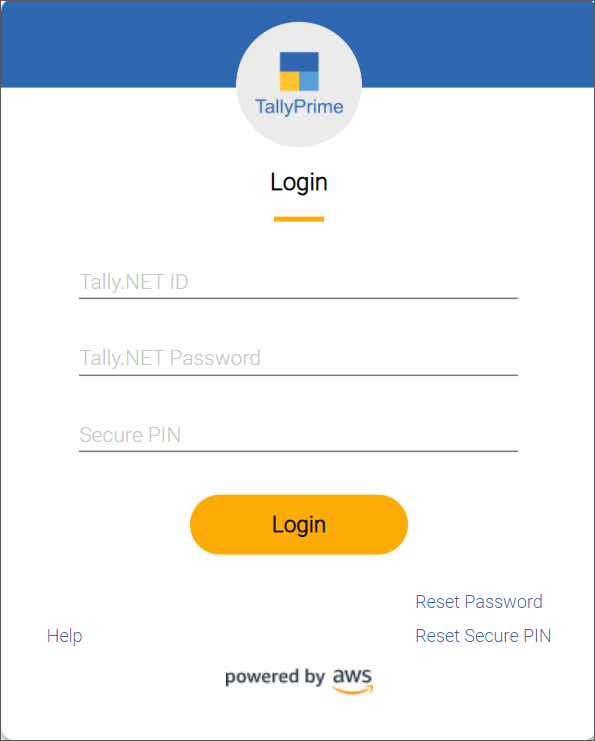
If you are travelling and do not have your computer with you, you can easily log in to the Self Service portal from any other computer with your credentials and connect to your Virtual Computer. This gives you the opportunity to use TallyPrime anytime, anywhere for your business without installing a client.
To be able to access your Virtual Computer you will require the following:
| Operating System | Browser |
| Windows 7 SP1 or above | Chrome |
| Mac 10.12 or above | Chrome and Safari |
| Linux | Chrome (in testing) |
Note: Last tested version - Chrome 96
You can connect to your Virtual Computer through the Computer and User Management portal and access your data in TallyPrime without having to install a client on your local system.
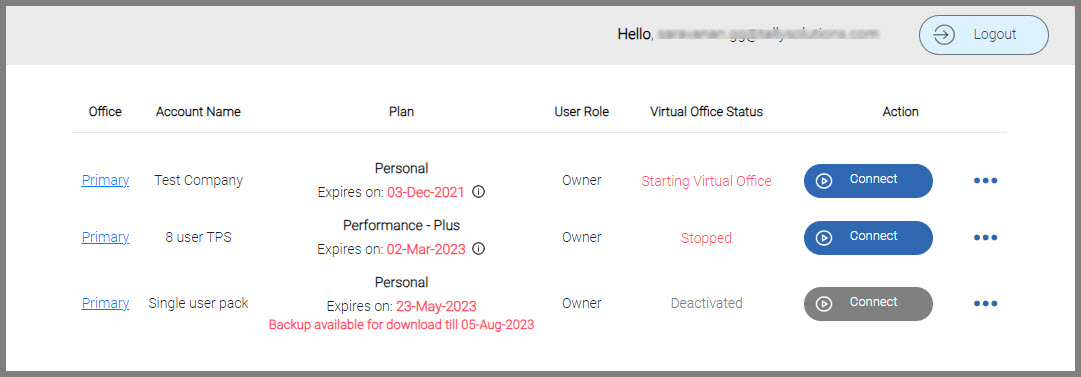
If the Virtual Computer is in shutdown state, it will take around 5 minutes for the first user to connect to it since the system will start and connect. Following this, subsequent users will have direct access to the Virtual Computer and can connect to it immediately since the machine is already running.
However, you can start your Virtual Machine by clicking Start under the Action column. This will start your Virtual Machine in around 5 mins and selecting Open Virtual Computer afterwards will connect you to the Virtual Computer immediately.
Note: The Start option will be displayed on the portal only when the Virtual Computer is in shutdown state. Whenever you receive a connection error while connecting to the Virtual Computer, clicking on the Close Tab button closes the tab and allows you to connect from the Self Service portal. The existing DCV features will remain unchanged in the browser as well.
Once you have completed your work, you can save your data, disconnect, and shut down the Virtual Computer from the Self Service portal to ensure that your data remains secure. There are two ways to disconnect your Virtual Computer from the Self Service portal.
Note: If your Virtual Computer is idle for 45 minutes due to inactivity, it will be disconnected automatically. You can close the tab manually and reconnect to continue your work when required.
There will be no change in the functionality of Virtual Computer when accessed via Virtual Computer Connection Client. However, there are a few differences when using a browser to access a Virtual Computer. For more information refer to Manage Distributed Operations Easily topic.
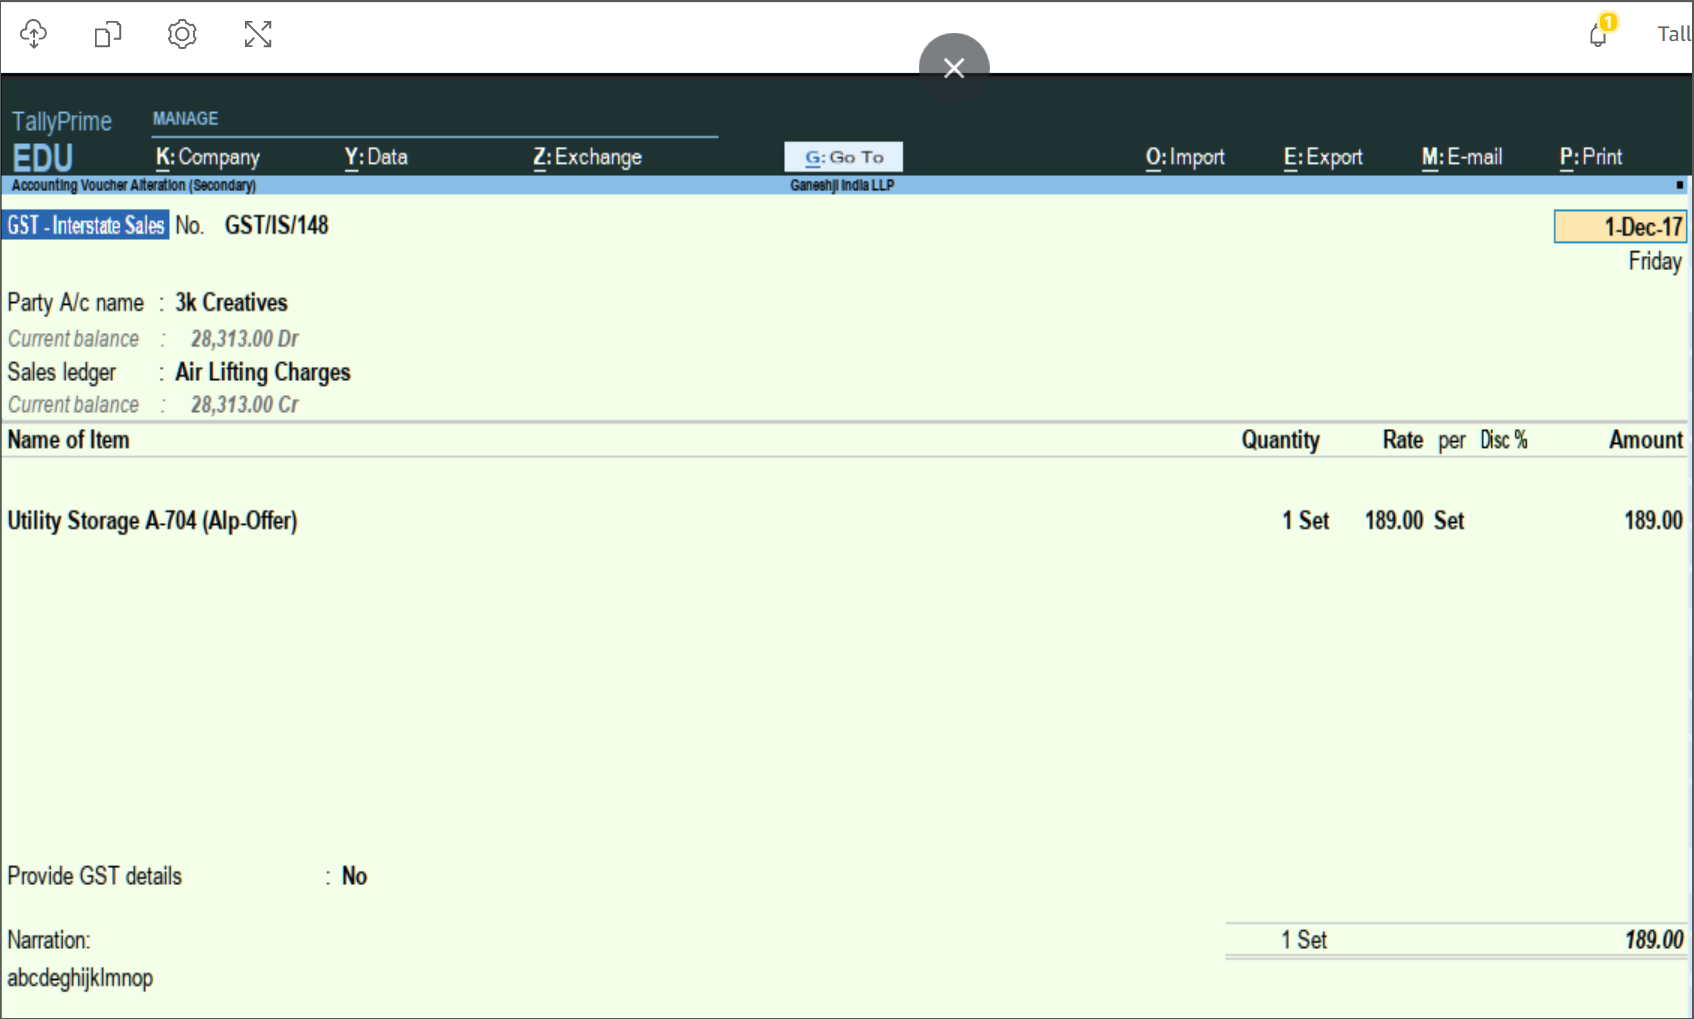
With TallyPrime, you can record a transaction, create invoices, and print reports based on your business needs.
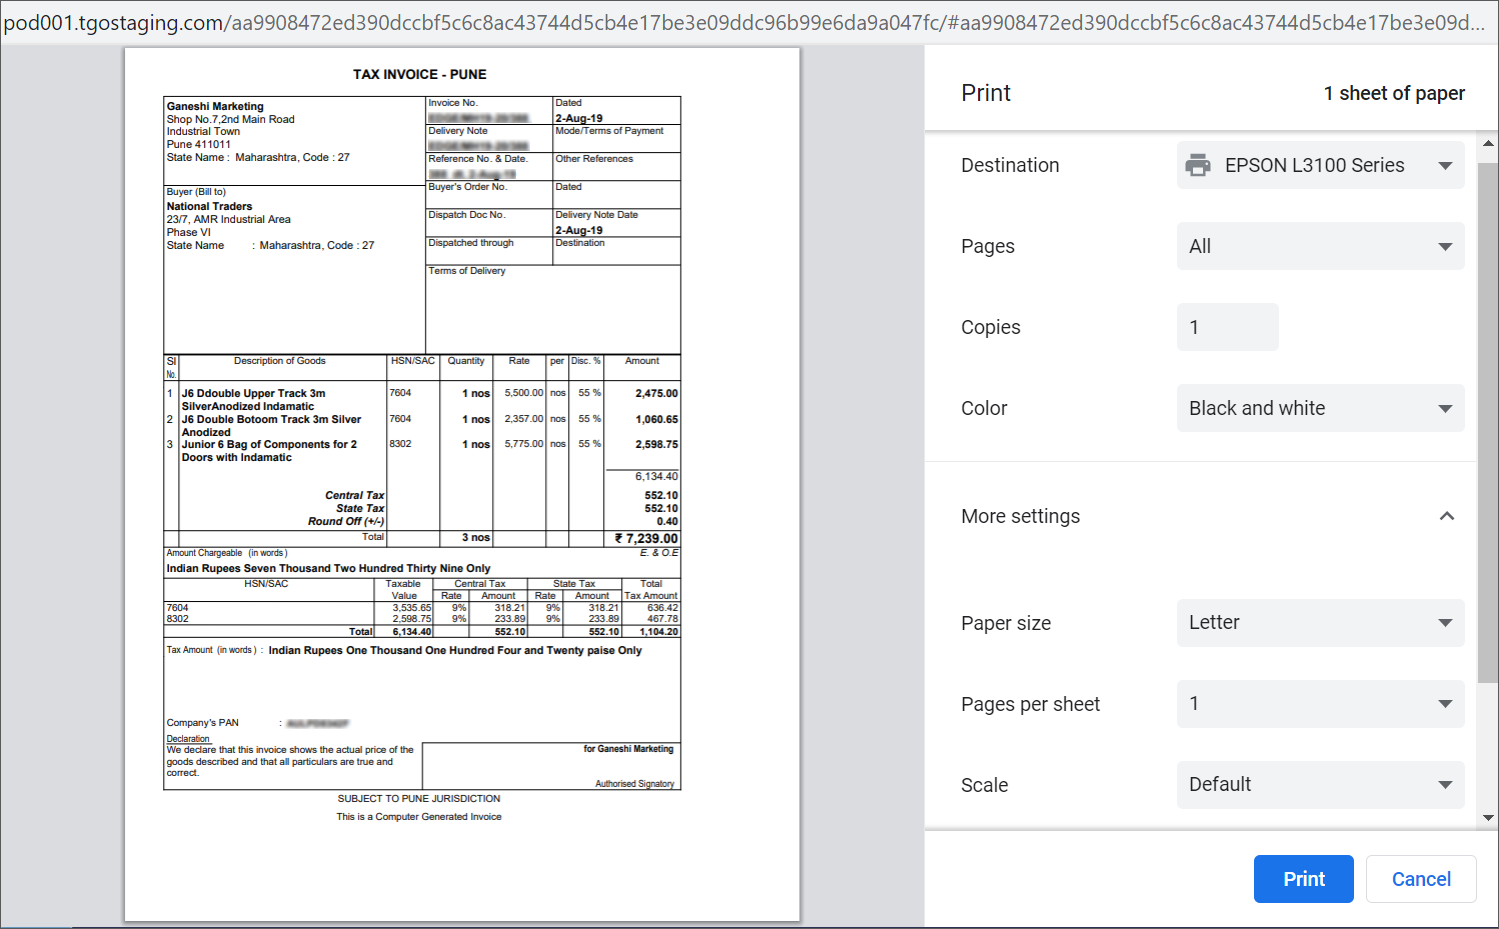
Note: 1. When your cursor is over the DCV toolbar, it prints the current page from the browser.
      2. When your cursor is over the TallyPrime window, it prints the screen from TallyPrime, such as reports, vouchers, or invoices.
When we download the file from a Virtual Computer connected through a browser, the file is downloaded to the browser’s download path. On the other hand, when we download the file from a Virtual Computer using the Virtual Computer Connection client, the files are downloaded to the desktop.
The browser’s features – address bar, title bar, and so on; occupy the screen space of TallyPrime when accessed via a browser. However, you can increase the available space to operate TallyPrime conveniently.

Listed below are the shortcut keys that have conflicting behavior with browser features.
| Unsupported Shortcut Keys | Behavior |
| Alt+F1 | Switches between the applications open in the Virtual Computer |
| Alt+F4 | Completely closes the application you are using |
| Ctrl+F4 | Closes window or tab within a program |
| Ctrl+N | Opens a new window |
| Ctrl+T | Opens a new tab |
| Ctrl+W | Closes the window or tab |
| Ctrl+Alt+I | To invert selection of line items in a report |
| Ctrl+Alt+T | To view TDL/Add-on details |
| Esc | Exits the DCV fullscreen |
| Unsupported Shortcut Keys | Behavior |
| Alt + 2 | Duplicates Voucher |
| Alt + F1 | Shuts Company |
| Alt + E | Export |
| Alt + I | Inserts Voucher |
| Alt + N | Auto Column |
| Unsupported Shortcut Keys | Behavior |
| Alt + 2 | Duplicates Voucher |
| Alt + F1 | Shuts Company |
| Alt + E | Export |
| Alt + I | Inserts Voucher |
| Alt + N | Auto Column |
| Ctrl + F1 | Opens Online Help |
| Ctrl + F3 | Shuts Company |
| Ctrl + F4 | Opens Payroll Voucher |
| Ctrl + F5 | Opens Rejection Out Voucher |
| Ctrl + F6 | Opens Rejection In Voucher |
| Ctrl + F7 | Opens Physical Stock Voucher |
| Ctrl + F8 | Opens Sales Order Voucher |
| Ctrl + F9 | Opens Purchase Order Voucher |
| Ctrl + Alt + B | Shows Build Details in Calculator Panel |
| Ctrl + Alt + C | Copies Text |
| Ctrl + Alt + I | Selects all vouchers in Report |
| Ctrl + Alt + R | Rewrites Data |
| Ctrl + Alt + T | Opens TDL Management Screen |
| Ctrl + Alt + V | Pastes Text |
Note: You can resolve the conflicting behavior of the shortcut keys on the Mac system by following the below navigation:
      1. System Preferences > Keyboard.
      2. In Keyboard settings, select Shortcuts > Keyboard > Disable all options.
You will need close and reopen your browser for the changes to take effect.
For more information on the keyboard shortcut keys refer to Keyboard Shortcuts in TallyPrime topic.

Revolutionising Finance : The Power of Nivi Ai

Virtual Computer Reports