Renewing your product plan subscription for TallyPrime on AWS is a convenient and hassle-free way to ensure that your system is up to date for maintaining and accessing business data. You can renew your subscription anytime and continue to access your Virtual Computer, use TallyPrime on the AWS Virtual Computer, use Self Service portal to manage backups, and much more.
To sum up, your subscription allows you to enjoy the benefits and continue to do business as usual without interruptions.
Renew your TallyPrime on AWS product plan subscription on or before its expiry date and continue to manage your business transactions as usual. While you are renewing the plan, you will have the option to upgrade or downgrade your plan or continue with the same plan depending on your business needs.
To renew the subscription, all you need is contact your Tally Partner and share your registered e-mail ID. Once your Tally Partner processes the renewal, you will receive an e-mail communication confirming the same.
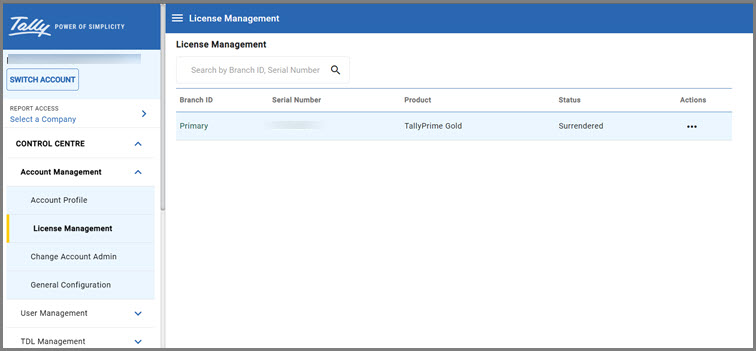
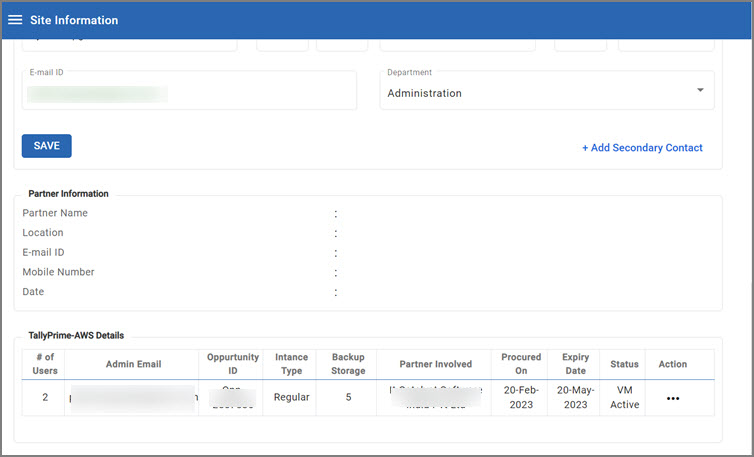
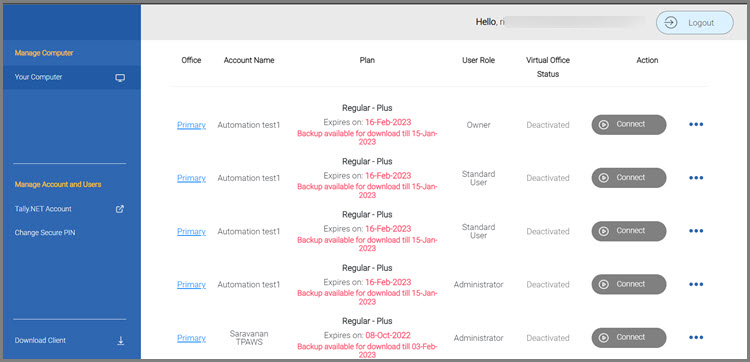
You can anytime verify the expiry date for the product plan and ensure renewal on time.
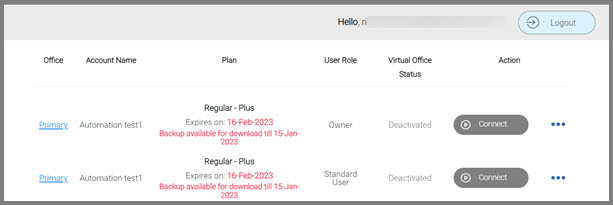
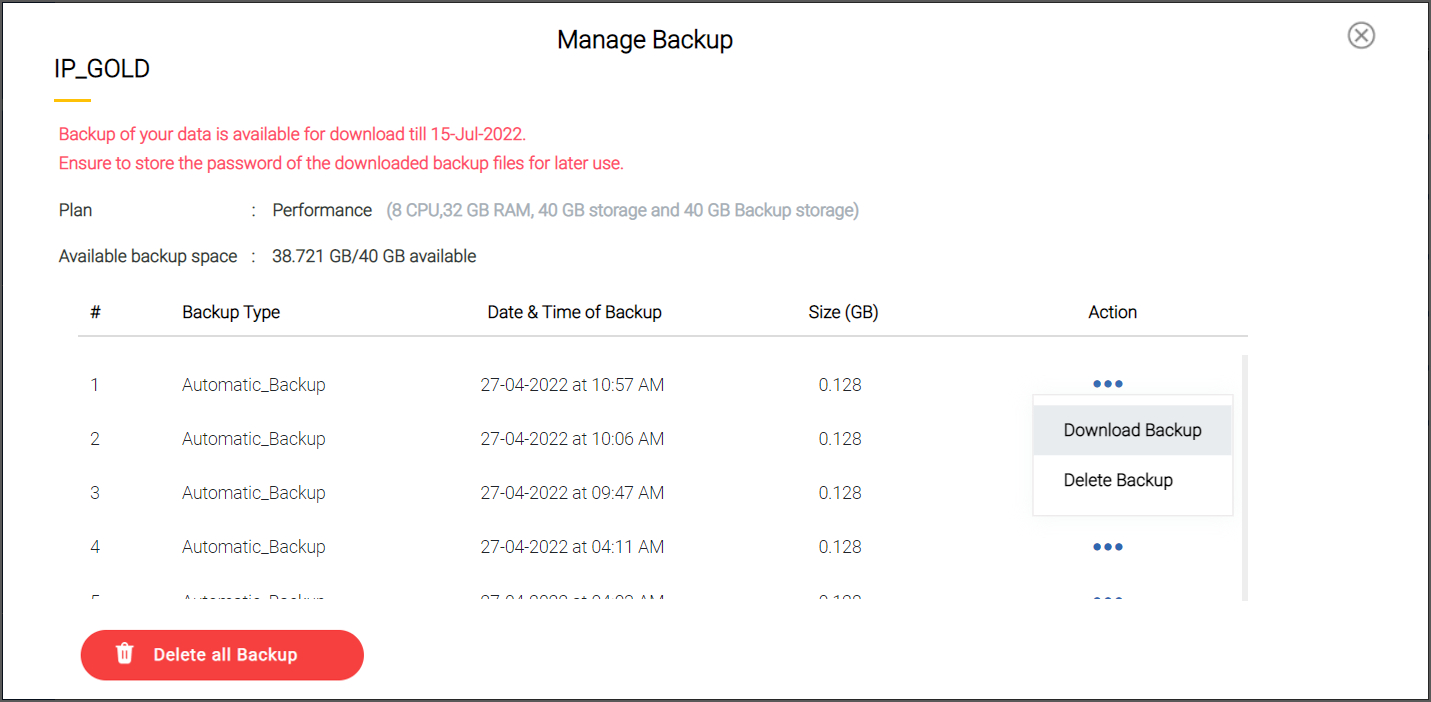
Note: When the validity date for your Product Plan subscription is within 15 days of expiry, the date appears in Red under the Plan column. You can view the expiry date under the Expires on column and take appropriate actions.
In case you fail to renew your subscription within the validity period, your access to Self Service Portal will be restricted, resulting in deprovisioning of the Virtual Machine and termination of access to TallyPrime on AWS. We recommend that you should frequently check your subscription validity date to renew or upgrade or downgrade the plan as needed to maintain continued access to your Virtual Computer.
Note: It is a best practice to download the backup files periodically since the data is backed up automatically when starting the computer from the Self Service Portal. This will enable you to use the downloaded data in your local computer and continue to maintain your business transactions using TallyPrime.
On failure to renew your subscription, you can either continue to use the backed up data in TallyPrime on your local computer or choose to purchase a plan again to start using TallyPrime on AWS.
TallyPrime on AWS provides a variety of plans according to the number of users, number of Virtual Computers you need to connect, backup storage, and memory. You can select the plan from a variety of packages based on your specific requirements.
You can upgrade to a higher user package whenever you need it, allowing you to handle complex environments seamlessly. You can also downgrade to lower user packages to accommodate the number of users with minimal or no effort.
Click here to know more about all the available product plans.
In case you no longer require to use the Virtual Machine on AWS, you can cancel your subscription at any time and return to your local computer for regular business purposes.
Prior to discontinuing your subscription, we recommend that you perform a backup of your TallyPrime data and download it along with customization files into a folder on your local computer, such as the tdl/tcp file and the configuration file (tsf).
The following are recommended before deprovisioning your VM:
Note: If you have stored your customisation files such as tdl/tcp in any other folder, you can download them from that folder to your local computer.
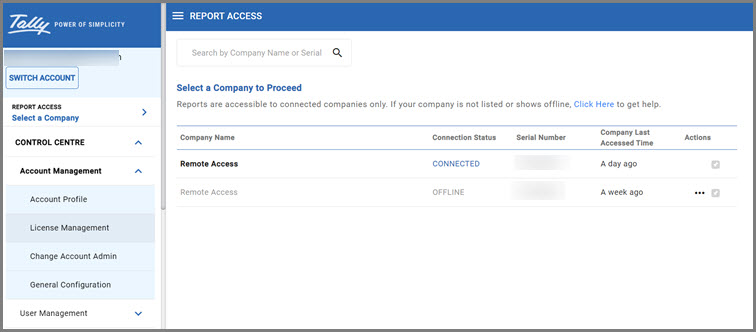
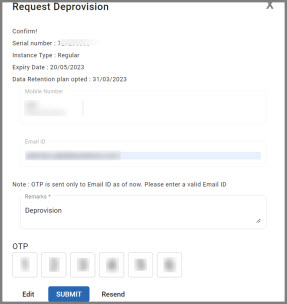
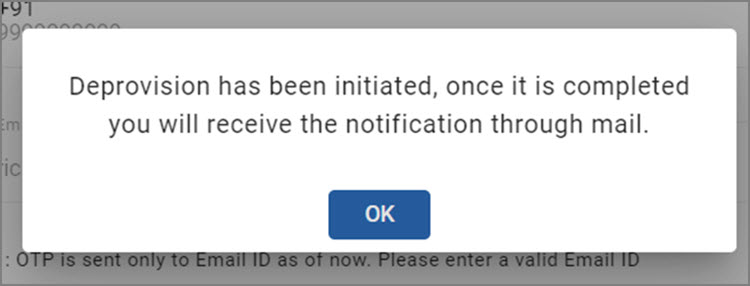
You can now Deprovision your VM from your Tally Account yourself. With this feature, raising a request or the approval of your partners is not required anymore. To deprovision your VM,

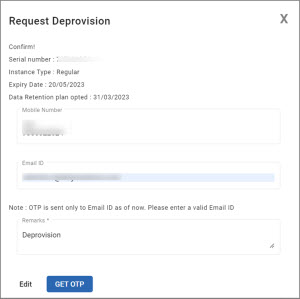
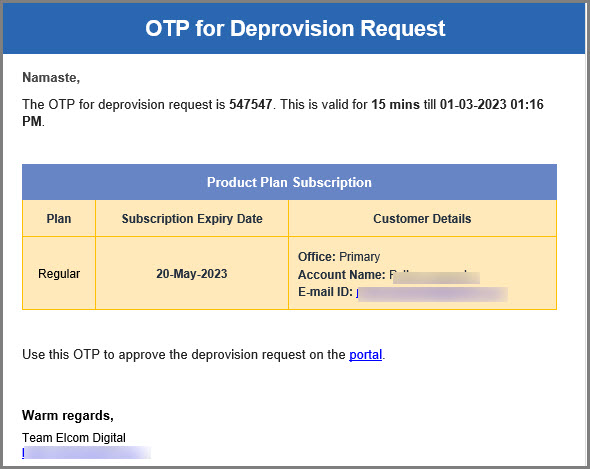
Note: The OTP for Deprovision Request will be sent only to the E-mail ID which is displayed on the Request Deprovision screen.
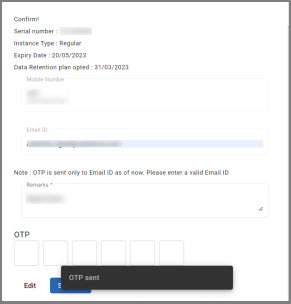

Note: In case you enter an OTP incorrectly thrice, then deprovision request will be blocked for 60 minutes.
In case you do not wish to deprovision your Virtual Machine on your own, you can contact your partner for the same.
Once you discontinue or cancel your subscription, you will certainly be looking for all the data you had maintained on the Virtual Computer. Your data back up remains safe with us for 7 days, so that you can download the same, anytime within that duration, to your local computer and use it as per your convenience.
Once you have downloaded the data, you can choose to remove the backed up data yourself from the Self Service portal.
On expiry of your subscription, the data backup will be available for download based on the date of deprovisioning of the Virtual Computer:
| Deprovisioning of Virtual Computer on Subscription Expiry Date | |
| Subscription expires on | 08-Jul-2022 |
| Deprovision on | 08-Jul-2022 |
| Backup available till | 15-Jul-2022 (Subscription expiry date + 7 days) |
| Deprovisioning of Virtual Computer Before the Subscription Expiry Date | |
| If expiry date is within 7 days from the date of deprovision | |
| Deprovision on | 20-Jun-2022 |
| Subscription expires on | 26-Jun-2022 |
| Backup available till | 03-Jul-2022 (Subscription expiry date + 7 days) |
| If expiry date is more than 7 days and within 30 days from the date of deprovision | |
| Deprovision on | 20-Jun-2022 |
| Subscription expires on | 30-Jun-2022 |
| Backup available till | 30-Jun-2022 (Subscription expiry date) |
| If expiry date is more than 30 days from the date of deprovision | |
| Deprovision on | 20-Jun-2022 |
| Subscription expires on | 25-Jul-2022 |
| Backup available till | 21-Jul-2022 (Date of deprovision + 30 days) |
| Deprovisioning of Virtual Computer After the Subscription Expiry Date | |
| Subscription expires on | 08-Jul-2022 |
| Deprovision on | 15-Jul-2022 |
| Backup available till | 22-Jul-2022 (Subscription deprovision date + 7 days) |
Note: You can access data backup files in the Self Service Portal, after deprovision of the Virtual Computer till the date the data backup is available. After downloading the required data, you can delete the backup files from the Virtual Computer.
Once you decide to cancel your subscription, you can download the data backup from the Virtual Computer to your local computer by the backup available date.
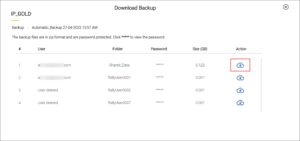

As the backed-up data is downloaded to your local computer, you can import the data in TallyPrime on your local computer and use the data as needed.
After you download the data backup, you can delete the backed up files from the Virtual Computer.


Revolutionising Finance : The Power of Nivi Ai
Virtual Computer Reports